
Para el Día del Libro de este curso, el equipo Clil hemos decidido hacer marcadores con idioms en inglés.
En el vídeo se ilustra el idiom: To let the cat out of the bag , que significa revelar secretos.


(con ilustraciones hechas por alumnado de 1 de ESO):
1. To have green fingers
To be a very good gardener
2. Green with envy
To be very jealous, envious
3. Gray area
Something that is unclear, undefined
4. Black and blue
Describe something that is badly bruised
5. Golden opportunity
The perfect chance
6. Have the blues
Be sad or depressed
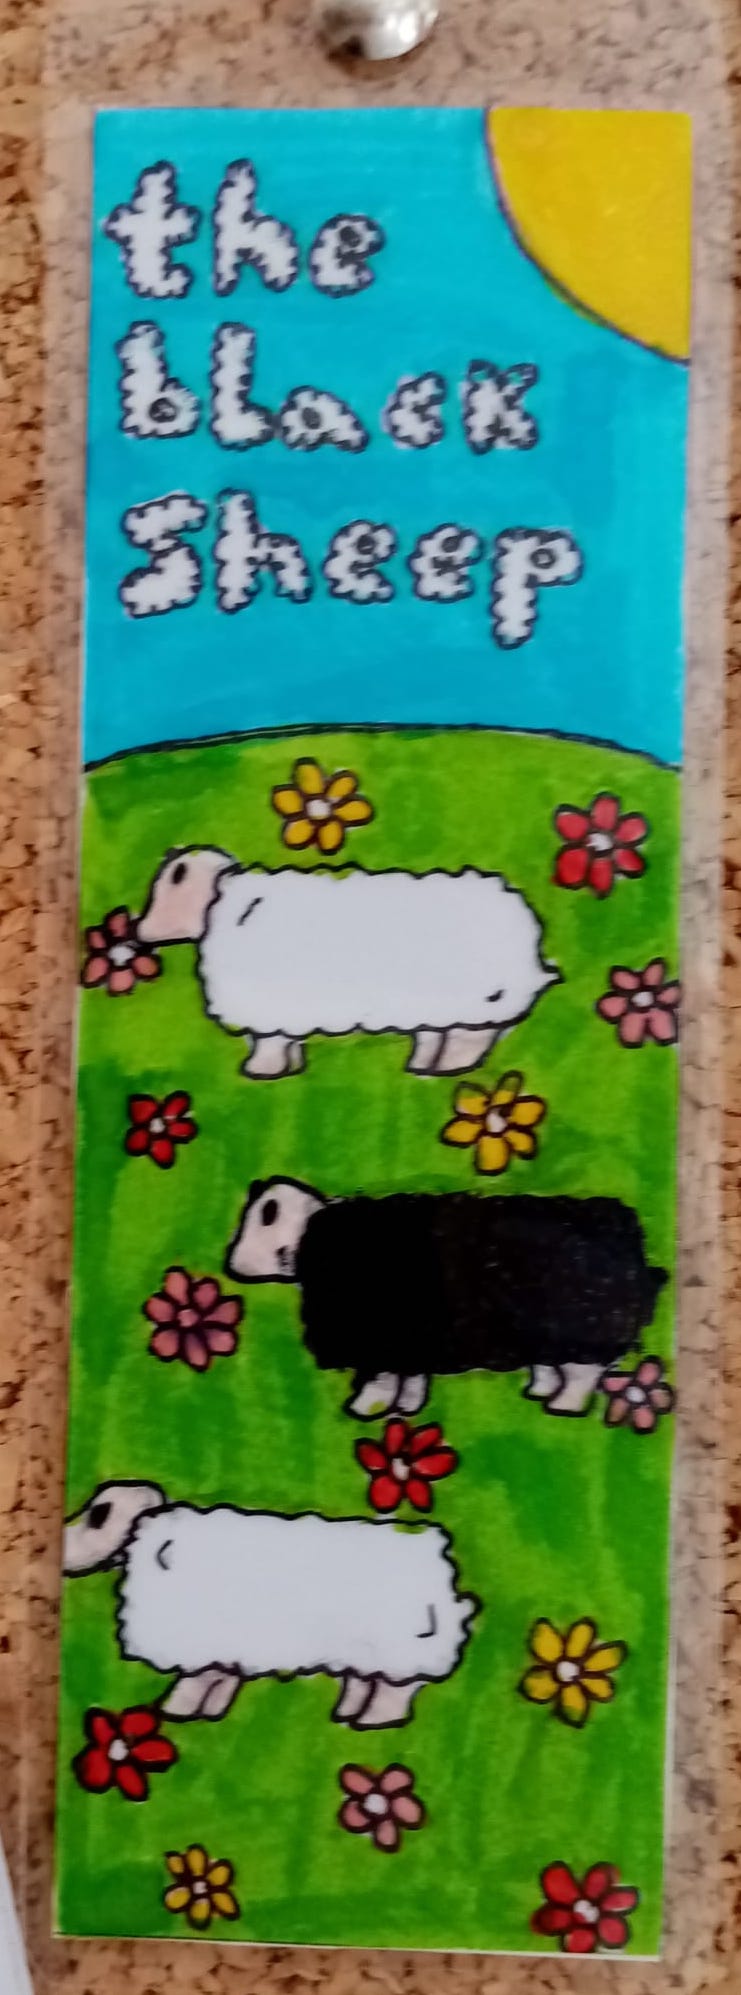
7. Black sheep
A person who is a disgrace to a family or group
8. Out of the blue
Randomly, without warning, surprisingly
9. White lie
A small lie that is told to be polite or avoid hurting someone’s feelings

10. Yellow-bellied
A coward
11. Caught red-handed
To catch someone in the act of doing something
12. To be yellow
To be cowardly
13. To see red
To be very angry

14. Green thumb
To be skilled at gardening
15. Once in a blue moon
Very rarely

16. Take the red eye
A late night flight that arrives early in the morning

17. Tickled pink
To be extremely pleased
18. Pink slip
A notice of dismissal from employment
19. White elephant
An expensive item that is costly to maintain
20. Silver screen
The film industry
21. Blue collar
Working in a manual labor job
22. Black as night
Somewhere very dark, when it is hard to see anything

23. Black eye
A bruise near one’s eye

24. Black out
Faint
25. Beet red
Dark red
26. Black and white
Straight forward, very clear
27. The green light
Permission
28. In the red
In debt
29. Roll out the red carpet
Treat someone like royalty


